Design decision
Why this idea works
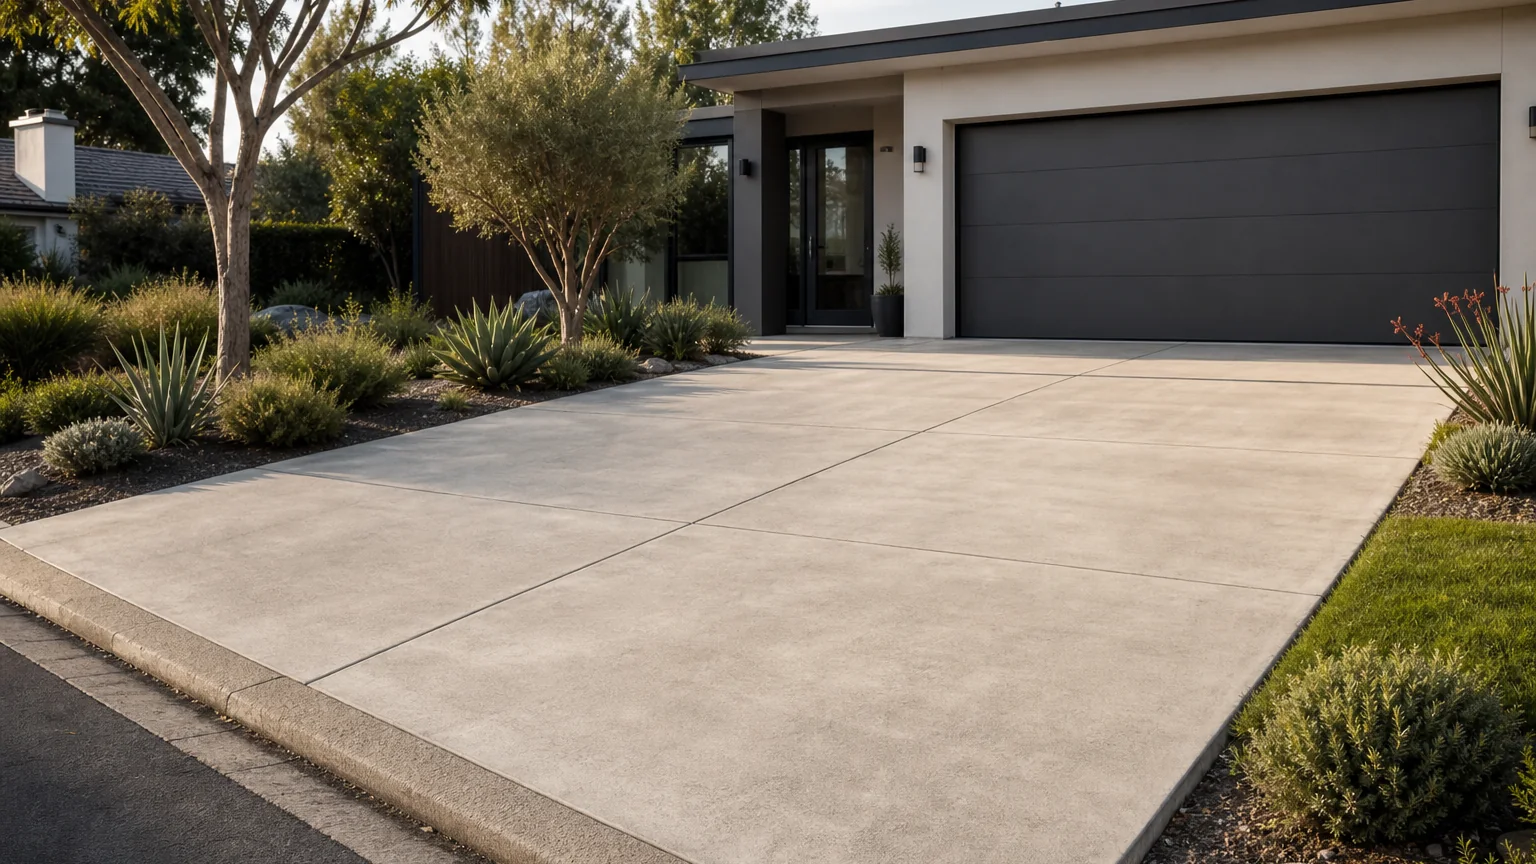
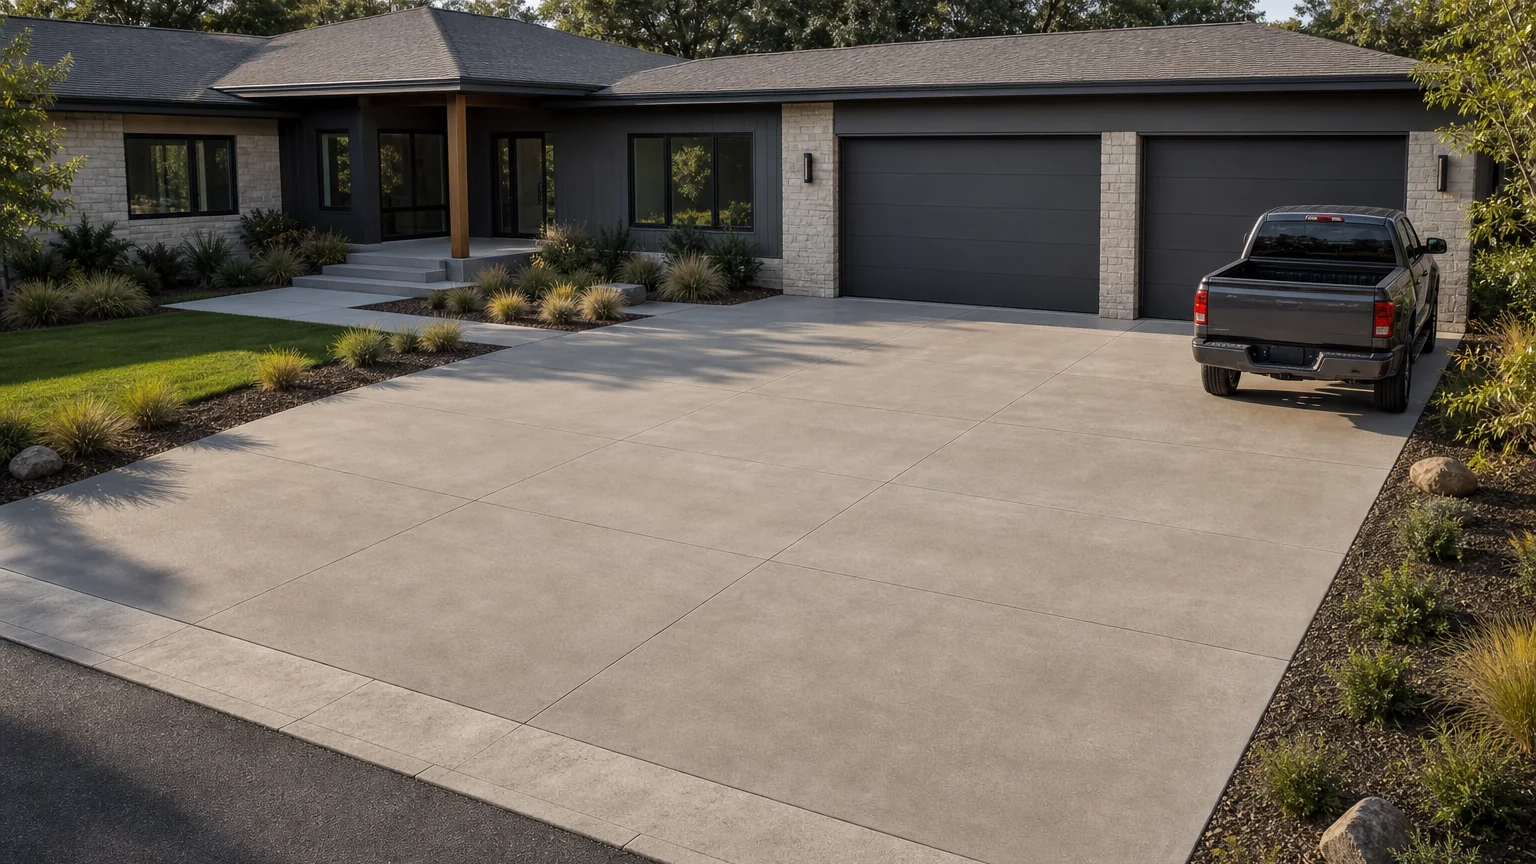
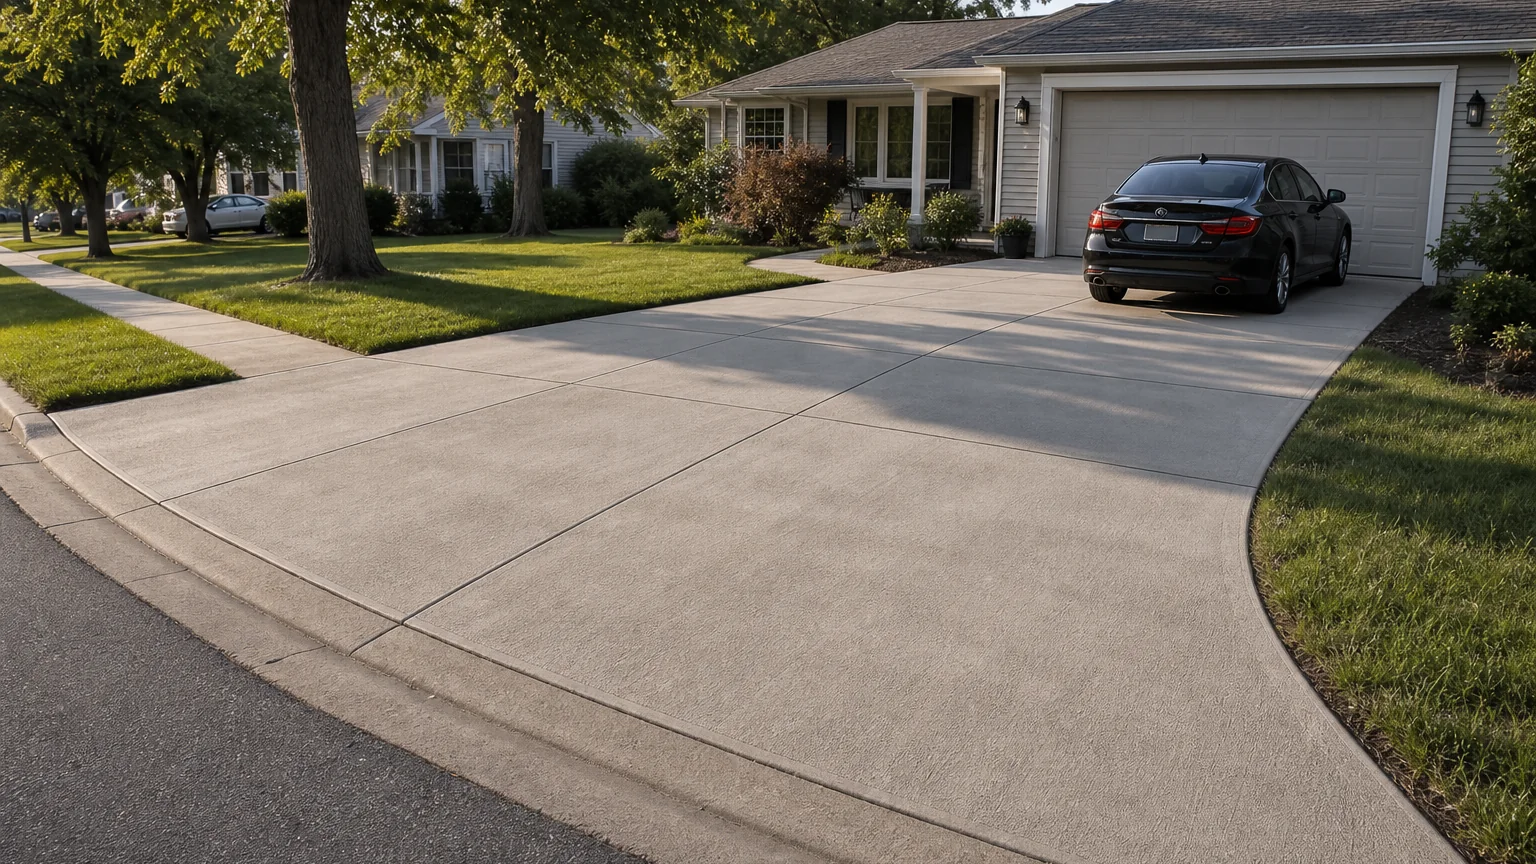
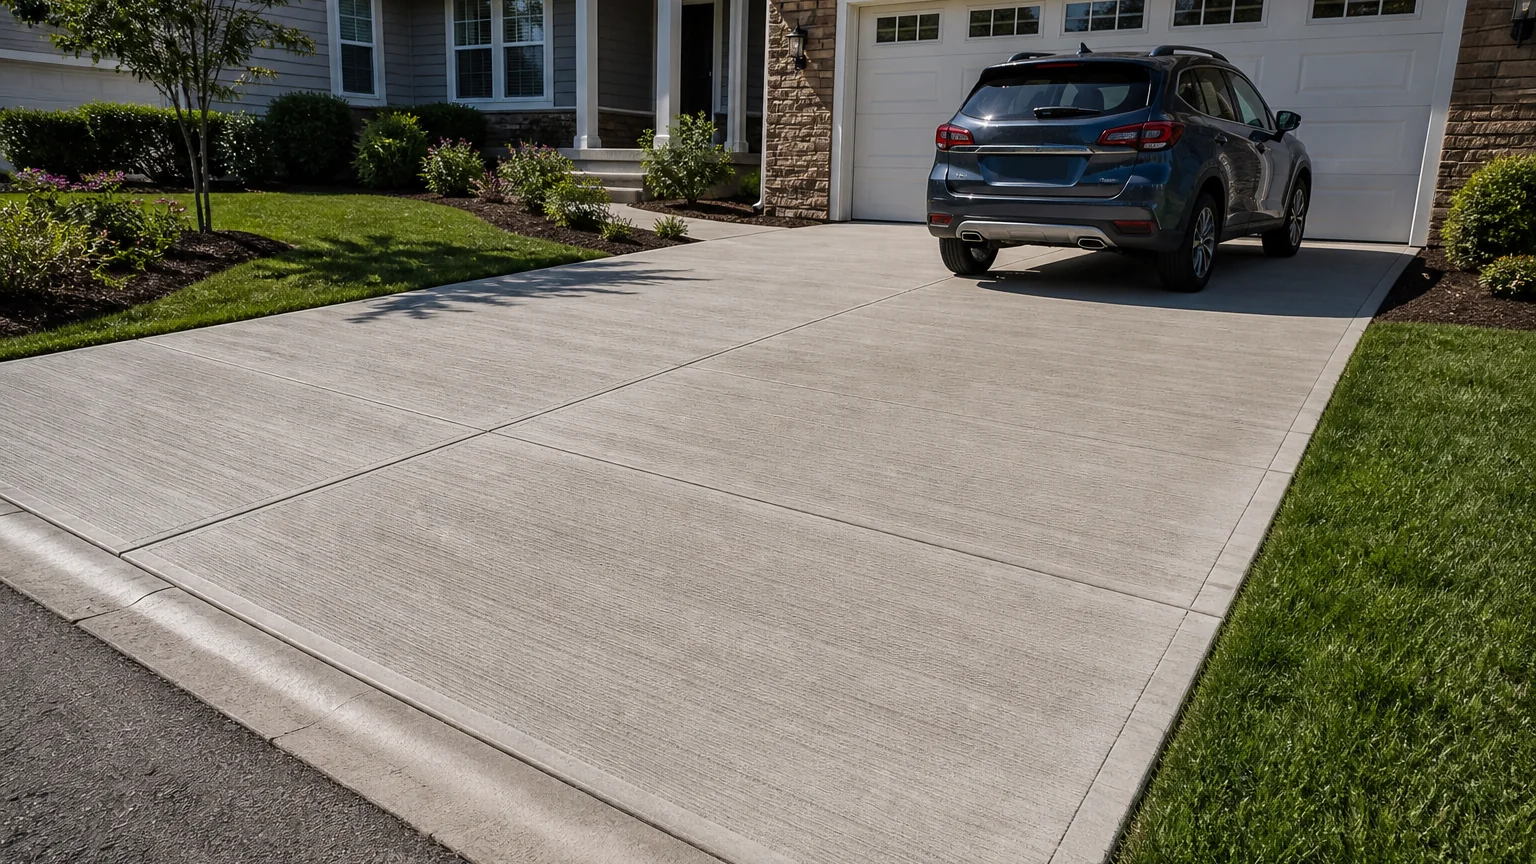
The broom finish is the workhorse of driveway surfaces: it gives tires and feet traction in rain and hides marks, and it costs less than decorative finishes while lasting well. Crisp, evenly spaced joints keep the cracking on your lines, and a clean lawn edge frames the whole surface.
- The tradeoff
- A broom finish favors grip and repair simplicity over a polished appearance.
- How to measure it
- Conceptual range: one driveway rectangle, with joint spacing planned to the slab thickness.
On your property
Plan it for your site
Pull the broom in a consistent direction so the texture is even and not aggressive enough to hurt bare feet or trap grit. Cut the transverse joints early and to the right depth, at least a quarter of the slab thickness, so the slab cracks along them rather than beside them.
- Pull the broom evenly and not too coarse so the texture grips without hurting bare feet.
- Cut joints early and to at least a quarter of the slab thickness so cracks follow them.
- Keep the lawn edge clean and slightly proud of soil so grass does not creep and water sheds off.
Before forms are set
Build implications
- Confirm before estimating An even broom texture confirmed on a sample.
- Confirm before estimating Joint depth and timing against slab-on-grade guidance.
- Confirm before estimating A clean, well-drained lawn edge.
- Measure the site and establish elevations Record boundaries, thresholds, grade changes, utilities, and the dimensions of vehicles, furniture, equipment, or structures that affect the layout.
- Test how the space will be used Check walking routes, turning paths, door swings, working clearances, maintenance access, and the route back to the house or street.
- Resolve drainage, services, and structural support Decide where water goes and coordinate drains, conduit, irrigation, fuel, electrical work, footings, and independent supports before forms are set.
- Define and estimate each concrete element Confirm the slab or footing section, base, joints, edges, and finish, then estimate simple measurable fields separately from steps, walls, drains, and supported features.
Prevent these problems
- Brooming at the wrong timeA surface finished too wet or too late can look uneven and may have weak paste or harsh ridges.
What changes the work and quote
- Edge detailing and joint layout rather than decorative treatmentKeep it simpler: Use a straight transverse broom and a regular panel grid.
Next step
Turn the idea into your estimate
Enter the dimensions and section for your property. The image does not provide a takeoff.
Estimate your drivewayQuestions this idea raises
How deep should control joints be cut?
A common guide is at least a quarter of the slab thickness and no less than about an inch, cut early enough that the slab has not already cracked. Confirm the depth for your slab.
Why is a broom finish so common?
It gives reliable wet-weather traction, hides tire marks, costs less than decorative finishes, and holds up for decades. For most driveways it is the practical default.
- Best when
- The project needs a durable, familiar surface with clear traction and a straightforward joint plan.
- Reconsider when
- The owner wants a smooth decorative finish or the broom lines would conflict with complex curves.
- Verify first
- Choose broom direction, joint spacing, edge elevations, and curing before placement begins.
- Professional input
- A concrete contractor should confirm the slab, base, joints, and drainage. Ask an engineer or the local authority to review retaining work, structures, unusual loads, or public-right-of-way changes.
Sources and further reading
- NRMCA CIP 6: Joints in Concrete Slabs on GradeJoint spacing, panel shape, isolation, and saw-cut depth for slabs on grade.
- FHWA: Bases and Subbases for Concrete PavementsProfessional guidance on uniform support, subgrade risks, drainage, and stable base layers.
- NRMCA CIP 11: Curing In-Place ConcretePlain-language guidance on curing methods, timing, weather, and surface protection.