Frequently asked questions
What strength concrete do columns need?
ACI 318 sets 3,000 PSI as the baseline for systems using Grade 60 or 80 reinforcement, and most residential and light-commercial columns specify at least that. The structural drawings set the actual value.
Why can't you pour a tall column quickly?
Fresh concrete pushes outward like a fluid, and the faster the form fills the higher that pressure climbs. Exceeding the form's design pressure causes deflection or a blowout, so the pour rate is limited to match the formwork and concrete temperature.
How much cover do column ties need?
For columns exposed to weather, provide 1½ inches of cover over #5 bars and smaller and 2 inches over #6 and larger. Confirm the exact cover against the project's exposure class.
Calculate the finished concrete prism
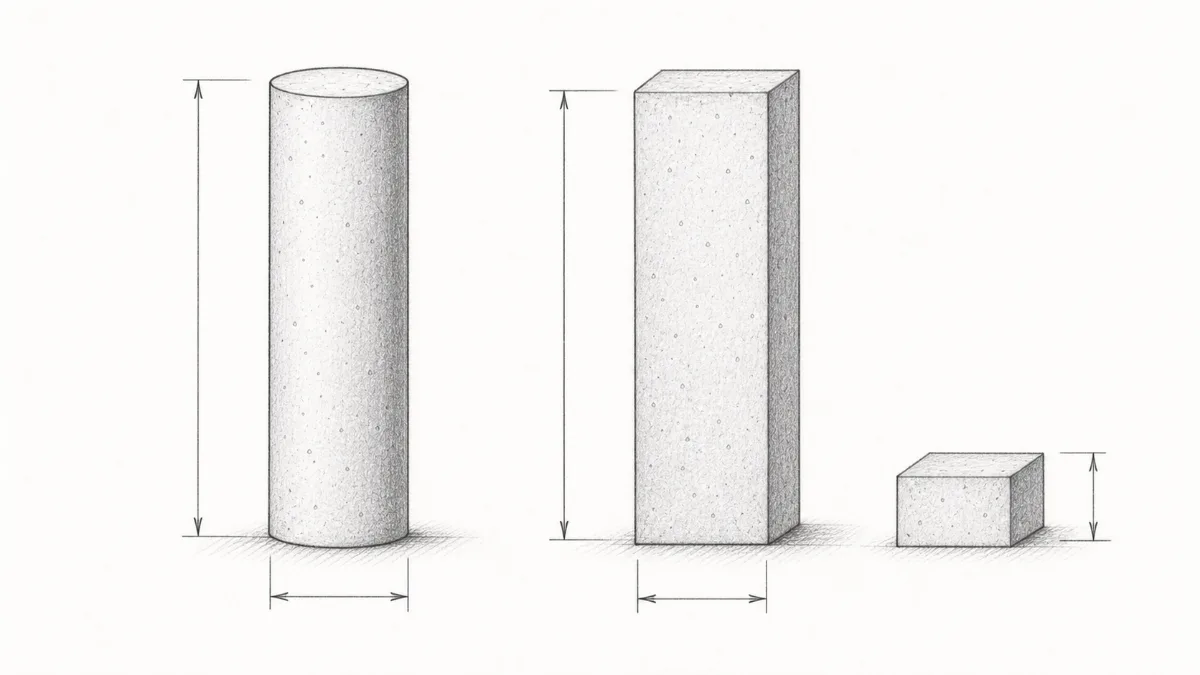
For a square or rectangular column with a constant section, multiply finished length, width, and height. Use clear concrete dimensions inside the forms. Calculate pedestals, capitals, corbels, haunches, pilasters, and tapered portions separately.
A 1 × 1 ft column 8 feet tall contains 8 cubic feet, or about 0.30 cubic yard before waste. Multiple columns can be multiplied when every section and height is identical.
Check where the column starts and stops
Foundation embedment, construction joints, beam intersections, slab depth, and column capitals affect the concrete height. Use the pour break and details shown on the plans rather than measuring only visible floor-to-ceiling height.
Formwork and placement affect waste
Tall narrow forms need access for placing and consolidation. Leakage, pump priming, hose retention, test samples, and leftover concrete can be significant compared with a small calculated volume. Confirm form tightness, cleanout, lift sequence, vibration access, and placement rate.
When form height exceeds 8 feet, deliver concrete through a drop chute or the pump discharge hose rather than allowing a free fall past reinforcement; a long uncontrolled drop causes heavy aggregate to separate from the paste and can produce honeycombing or rock pockets at the bottom of the column. Place concrete in horizontal lifts of 6 to 18 inches and consolidate each lift with an internal vibrator before the next is placed, penetrating the vibrator at least 6 inches into the previous layer to prevent cold joints.
The cage calculator starts after design
Pour Ready can estimate longitudinal bar length, tie count, spiral length, weight, and stock pieces from entered values. It can reject impossible cover or spacing combinations, but it does not select bar sizes, bar count, tie spacing, confinement zones, lap length, anchorage, development, or seismic detailing.
Use the structural drawings and bar schedule as the input source. Verify clear cover against exposure and form conditions, and coordinate dowels and mechanical connections before fabrication.
Do not simplify nonuniform columns into one average
An average section can hide a large volume error and is difficult to check. Break a tapered or stepped element into prisms or use an appropriate geometric method. Subtract intentional blockouts only when their dimensions are known and they remain void during placement.
Concrete strength is only one requirement
Specified strength, slump, aggregate size, air content, placement method, consolidation, finish, curing, and testing requirements come from the project documents and supplier coordination. The calculator’s grade labels are planning choices and suitability prompts, not approved substitutions.
Residential and light commercial columns typically specify 3,000 PSI as a minimum; ACI 318 sets 3,000 PSI for systems using Grade 60 or 80 reinforcement. Column tops and any section exposed to freeze-thaw conditions should use air-entrained concrete with 5–7% total air content to resist surface scaling after the first winter.
Column placement specifics
Columns concentrate the most reinforcement and the highest form pressure of any common residential element, so placement discipline matters as much as the mix. The values below follow ACI 318 and ACI 347 form-pressure practice; the structural drawings always govern.
| Parameter | Typical value | Note |
|---|---|---|
| Minimum strength | 3,000 PSI | ACI 318 baseline with Grade 60/80 steel. |
| Longitudinal bars | ≥ 4 (tied) / 6 (spiral) | One bar per corner or apex of the ties. |
| Tie anchorage | 135° hooks | Around a longitudinal bar. |
| Lift height | 6–20 in | Vibrate 6 in into the lift below. |
| Drop chute trigger | Form > 8 ft | Use pump hose or tube to avoid free fall. |
| Form design pressure | 600–3,000 psf | Controlled by pour rate and temperature. |
Step by step: pouring a column
The two things that ruin a column pour are a form blowout from pouring too fast and segregation from a long free fall. This sequence keeps both in check.
- Confirm pour breaks and the cage. Take the concrete height between actual construction joints from the drawings, and verify the tied or spiral cage — at least four longitudinal bars for tied columns, six for spirals, with 135-degree tie hooks.
- Set and brace the forms. Plumb the column form, secure it with column clamps or yokes rated for the pressure, and leave a cleanout window at the base to remove debris before closing up.
- Control the pour rate. Fresh concrete acts as a fluid and pushes outward at up to 150 pounds per foot of height. Limit the placement rate so pressure stays within the form's design value (generally capped near 3,000 psf) — pouring too fast is the classic cause of a blowout.
- Deliver through a drop chute. When the form exceeds 8 feet, place through a pump hose or drop tube so concrete falls vertically through the cage instead of bouncing off bars and segregating.
- Place in lifts and vibrate. Fill in 6 to 20-inch lifts and penetrate the vibrator at least 6 inches into the previous lift to prevent cold joints. Never deposit more concrete than can be consolidated before it stiffens.
- Strip and cure. Remove the vertical forms after about 1 to 2 days once the surface can resist damage, and cure for 7 days. Leave shoring and soffit forms for suspended members in place far longer, per the engineer.
Sources and further reading
Use this guide with the Pour Ready methodology page, the structural drawings for your project, and the bar schedule used for fabrication.
- ACI 318 official code page for structural concrete scope, ties, cover, anchorage, and column design boundaries.
- 2021 IRC Chapter 4 Foundations for residential footing and foundation context when columns bear on spread supports.