Design decision
Why this idea works
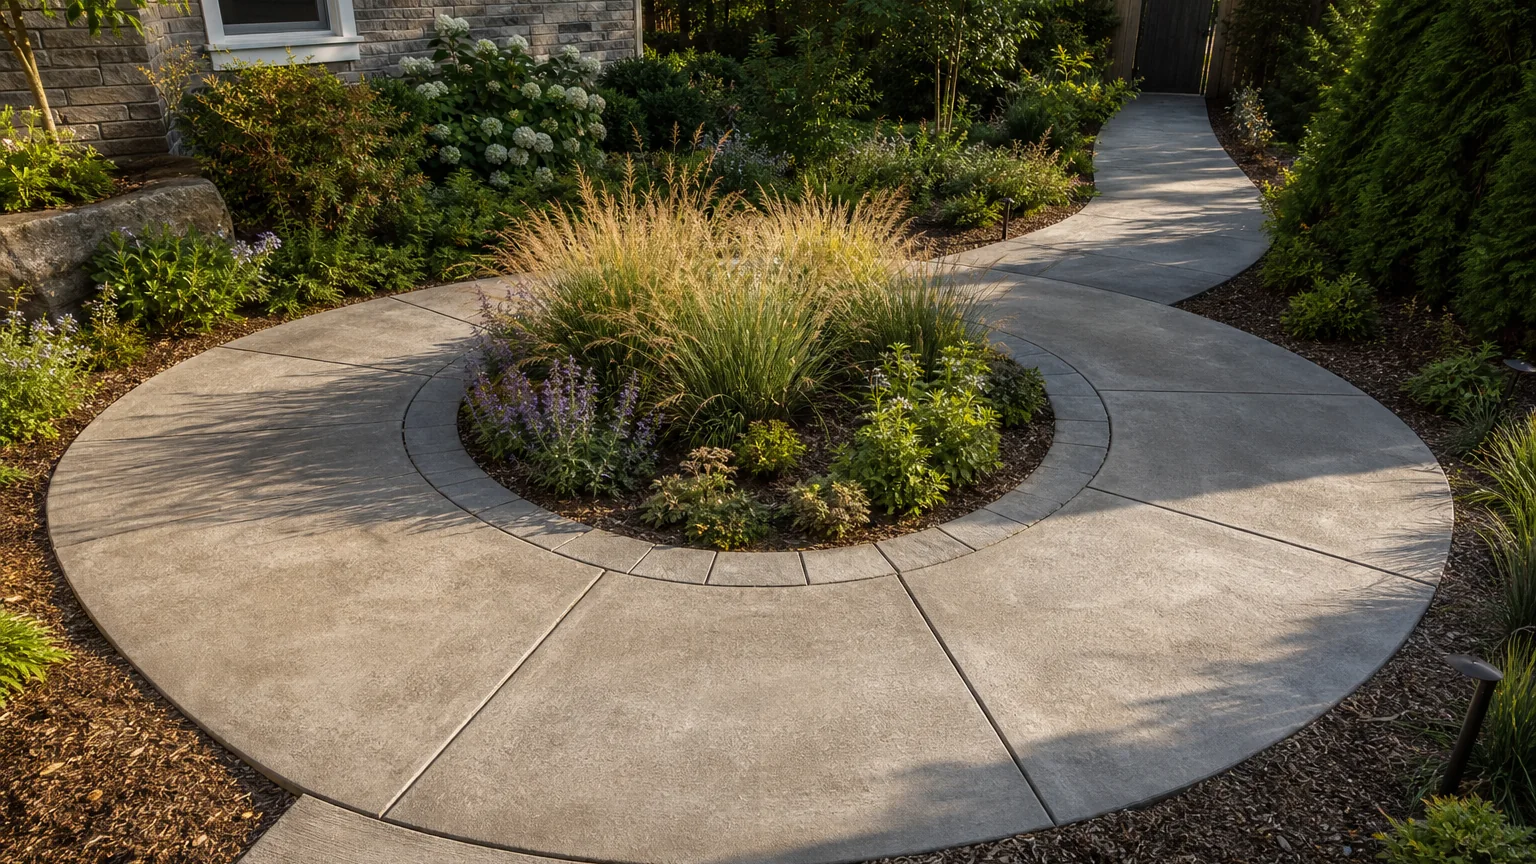
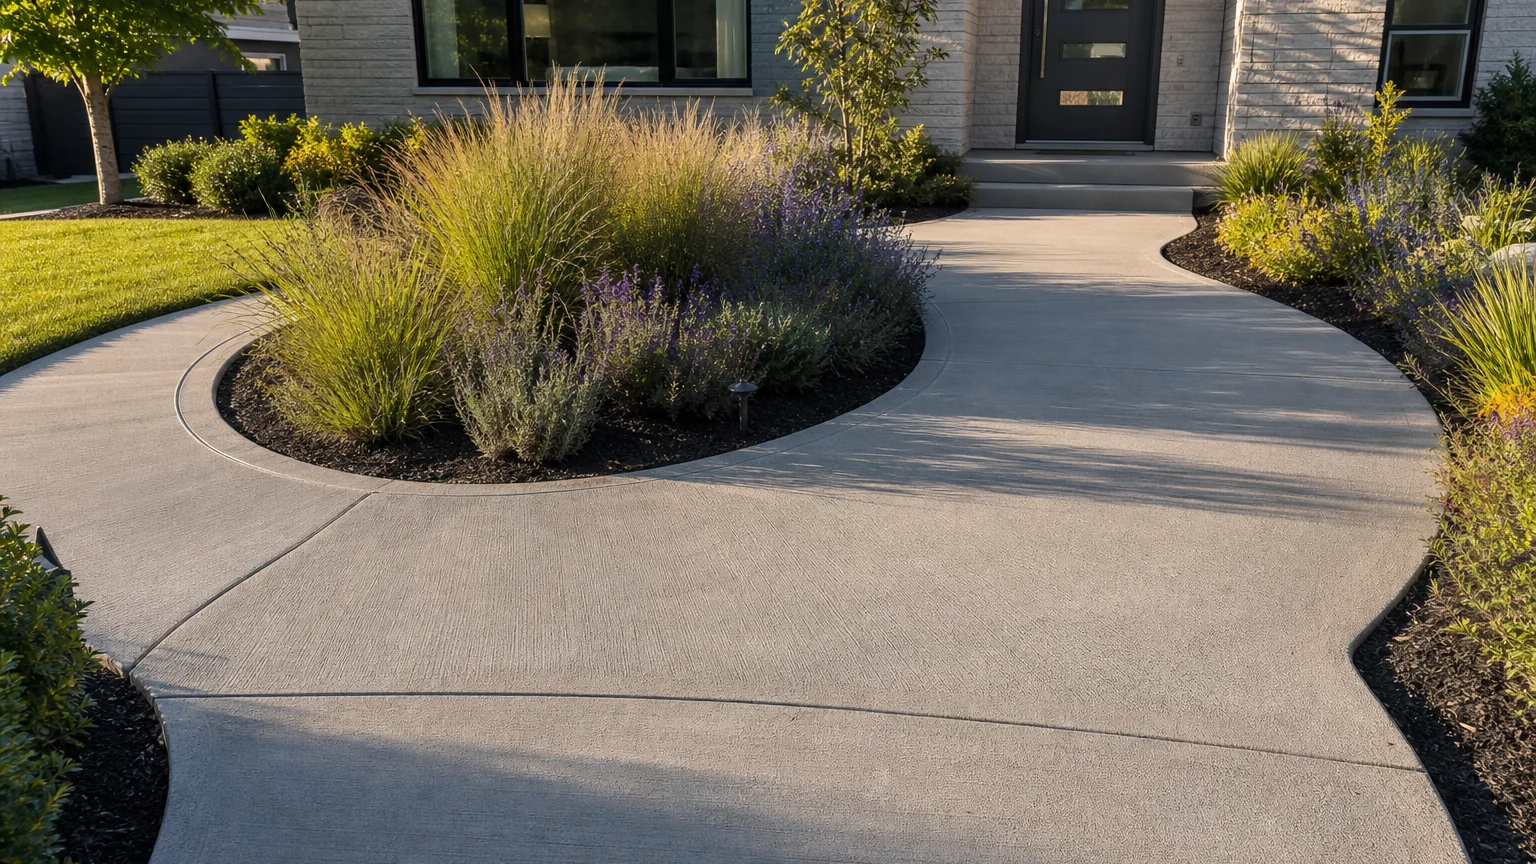
A gentle curve around a planting island makes a broad entry walk feel generous and unhurried, guiding guests toward the door while giving the eye somewhere green to land. The island breaks up the paving so a wide walk does not read as one blank slab.
- The tradeoff
- The layout sets a clear direction, but it also commits the project to fixed relationships. Lay out the curve full-size and confirm drainage on the low side before forming.
- How to measure it
- Conceptual range: the curved walk measured as a shape, with the planting island figured separately.
On your property
Plan it for your site
Keep the walk a calm broom field so the curve and the island are the features, and lay the curve out full-size so it flows without kinks. Edge the planting island clean and set the levels so the walk drains rather than pooling at the low side of the curve.
- Lay the curve out full-size so a wide walk flows without kinks.
- Edge the planting island clean so soil stays off the walk.
- Set the levels so the walk drains and does not pool at the low side of the curve.
Before forms are set
Build implications
- Confirm before estimating A full-size curve that flows.
- Confirm before estimating A clean, contained planting-island edge.
- Confirm before estimating Drainage across a wide curved walk.
- Measure the site and establish elevations Record boundaries, thresholds, grade changes, utilities, and the dimensions of vehicles, furniture, equipment, or structures that affect the layout.
- Test how the space will be used Check walking routes, turning paths, door swings, working clearances, maintenance access, and the route back to the house or street.
- Resolve drainage, services, and structural support Decide where water goes and coordinate drains, conduit, irrigation, fuel, electrical work, footings, and independent supports before forms are set.
- Define and estimate each concrete element Confirm the slab or footing section, base, joints, edges, and finish, then estimate simple measurable fields separately from steps, walls, drains, and supported features.
Prevent these problems
- Following the image instead of the natural routePeople normally take the shortest comfortable path, so a decorative curve that ignores daily movement quickly becomes inconvenient.
- Losing width at pinch pointsPlanting, lights, gates, door swings, steps, and furniture can reduce a generous-looking path to an awkward passage.
- Creating a low point at a thresholdSmall elevation errors can hold water beside a door, foundation, or step even when the rest of the path drains correctly.
Next step
Turn the idea into your estimate
Enter measurements from the property. The conceptual image does not provide a takeoff.
Estimate a similar walkwayQuestions this idea raises
Does a wide walk need a planting island?
It does not need one, but an island breaks up a broad surface, adds green, and gives the curve a focus so the walk does not read as blank. Place it where it guides the route.
How do I keep a curved walk draining?
Set the levels so water sheds off the curve rather than collecting at its low inside, and confirm the fall before forming. A flat curve can trap water.
- Best when
- Front entries
- Reconsider when
- Reconsider the idea if threshold elevations, clear width, slope, and changes in level cannot be resolved on the property.
- Verify first
- Lay out the curve full-size and confirm drainage on the low side before forming.
- Professional input
- Concrete contractor; accessibility review where the route must meet formal requirements
Sources and further reading
- U.S. Access Board: Building blocksAccessibility context for clear width, walking surfaces, and changes in level where applicable.
- NRMCA CIP 6: Joints in Concrete Slabs on GradeA practical starting point for panel layout and crack-control joints.
- EPA: Soak Up the Rain with Rain GardensFederal guidance for deciding whether a planted runoff area can work beside a path.