Design decision
Why this idea works
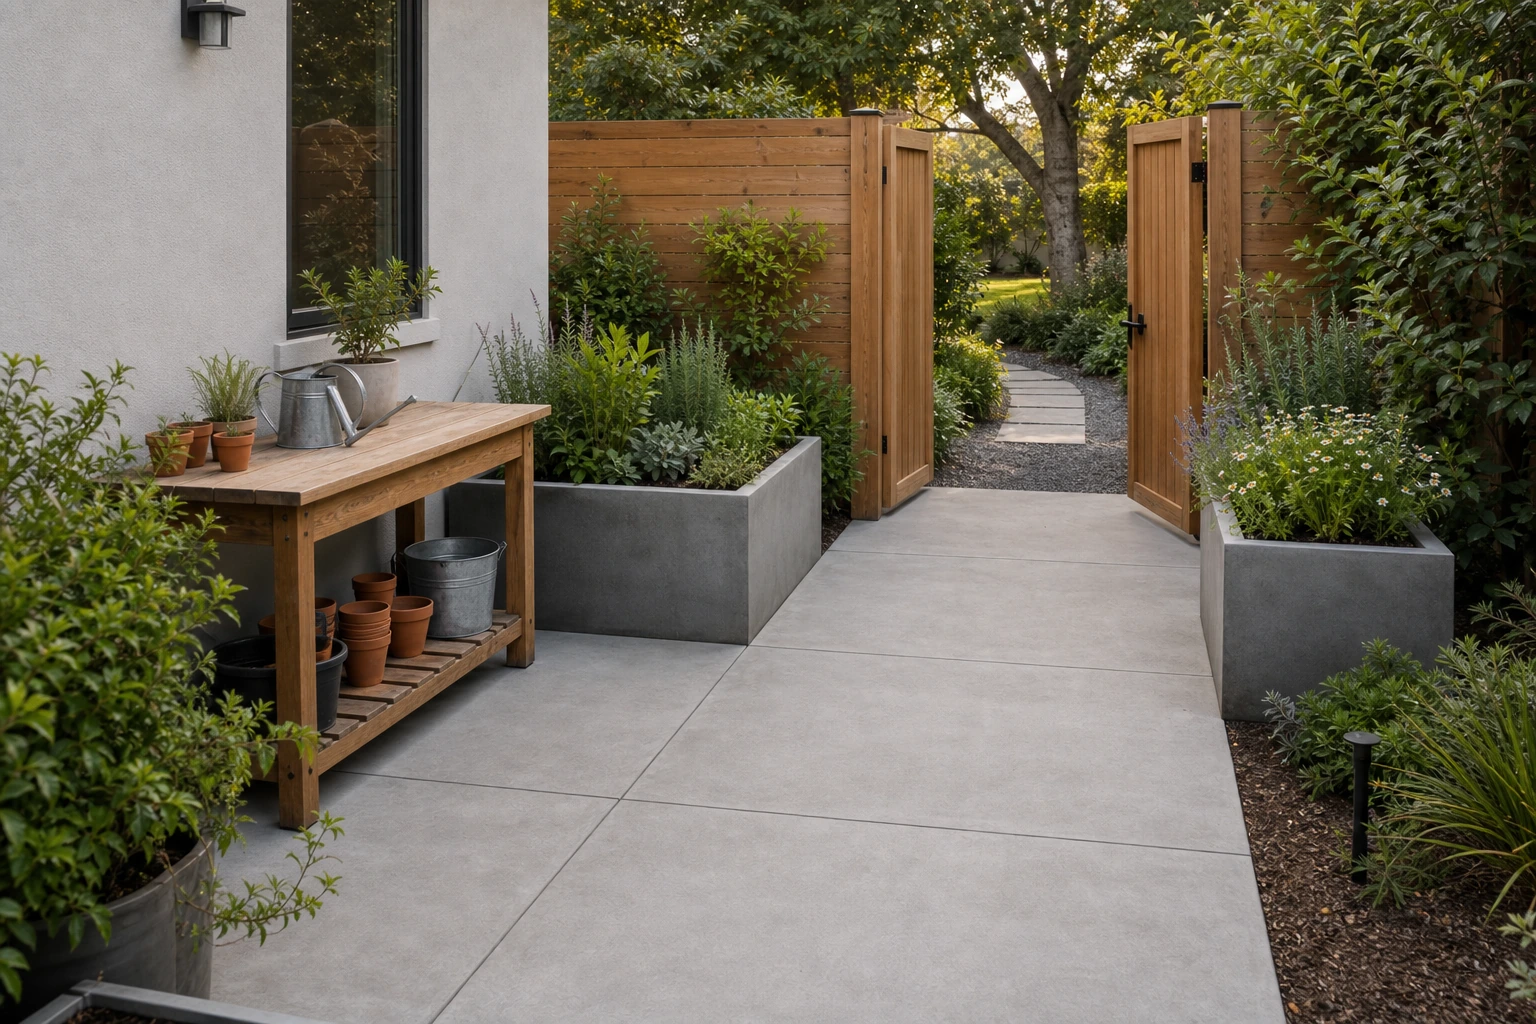
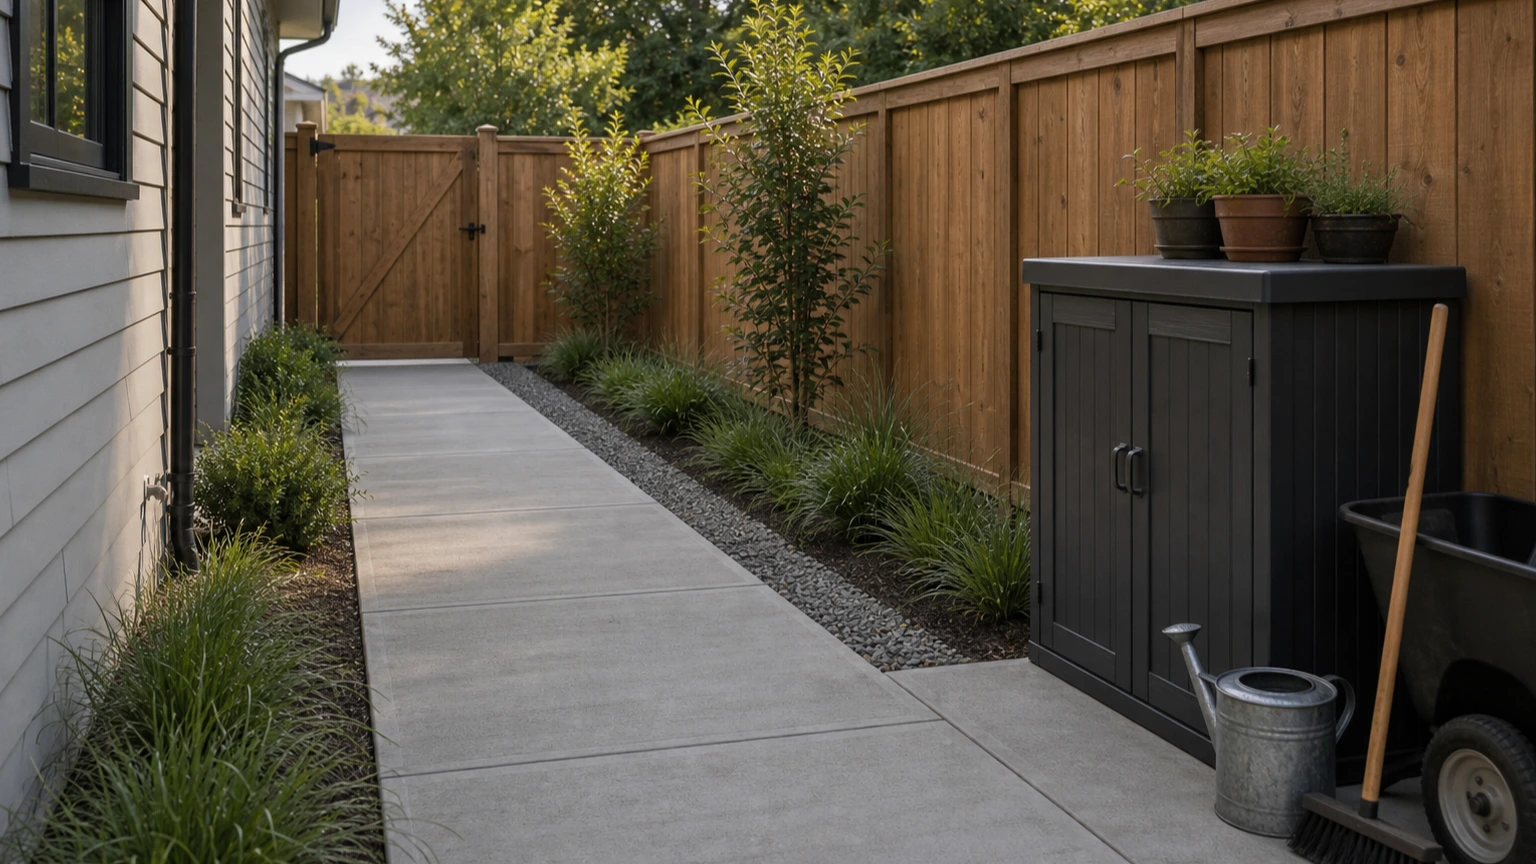
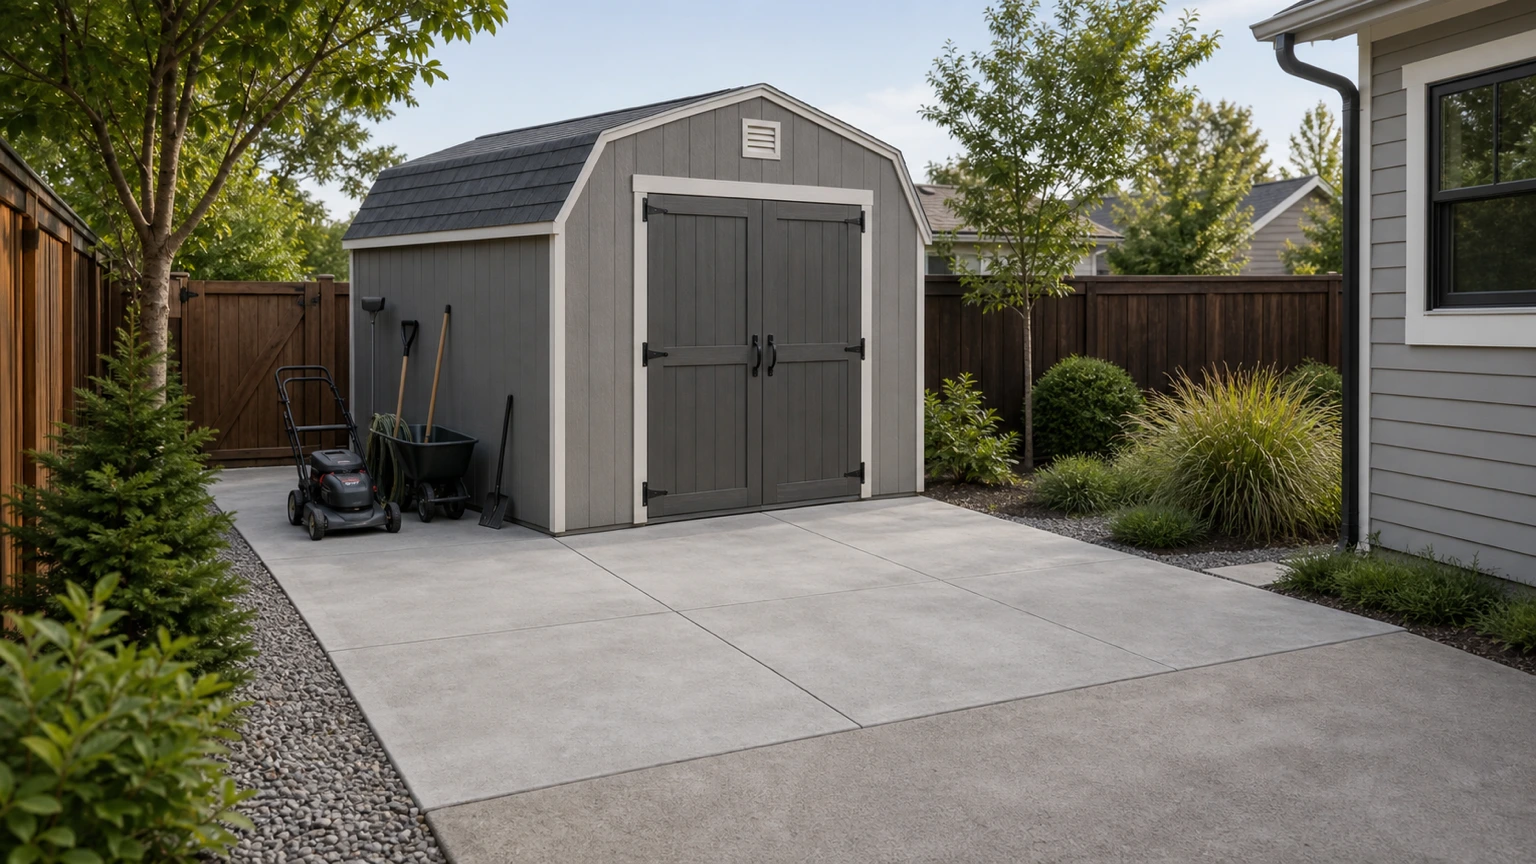
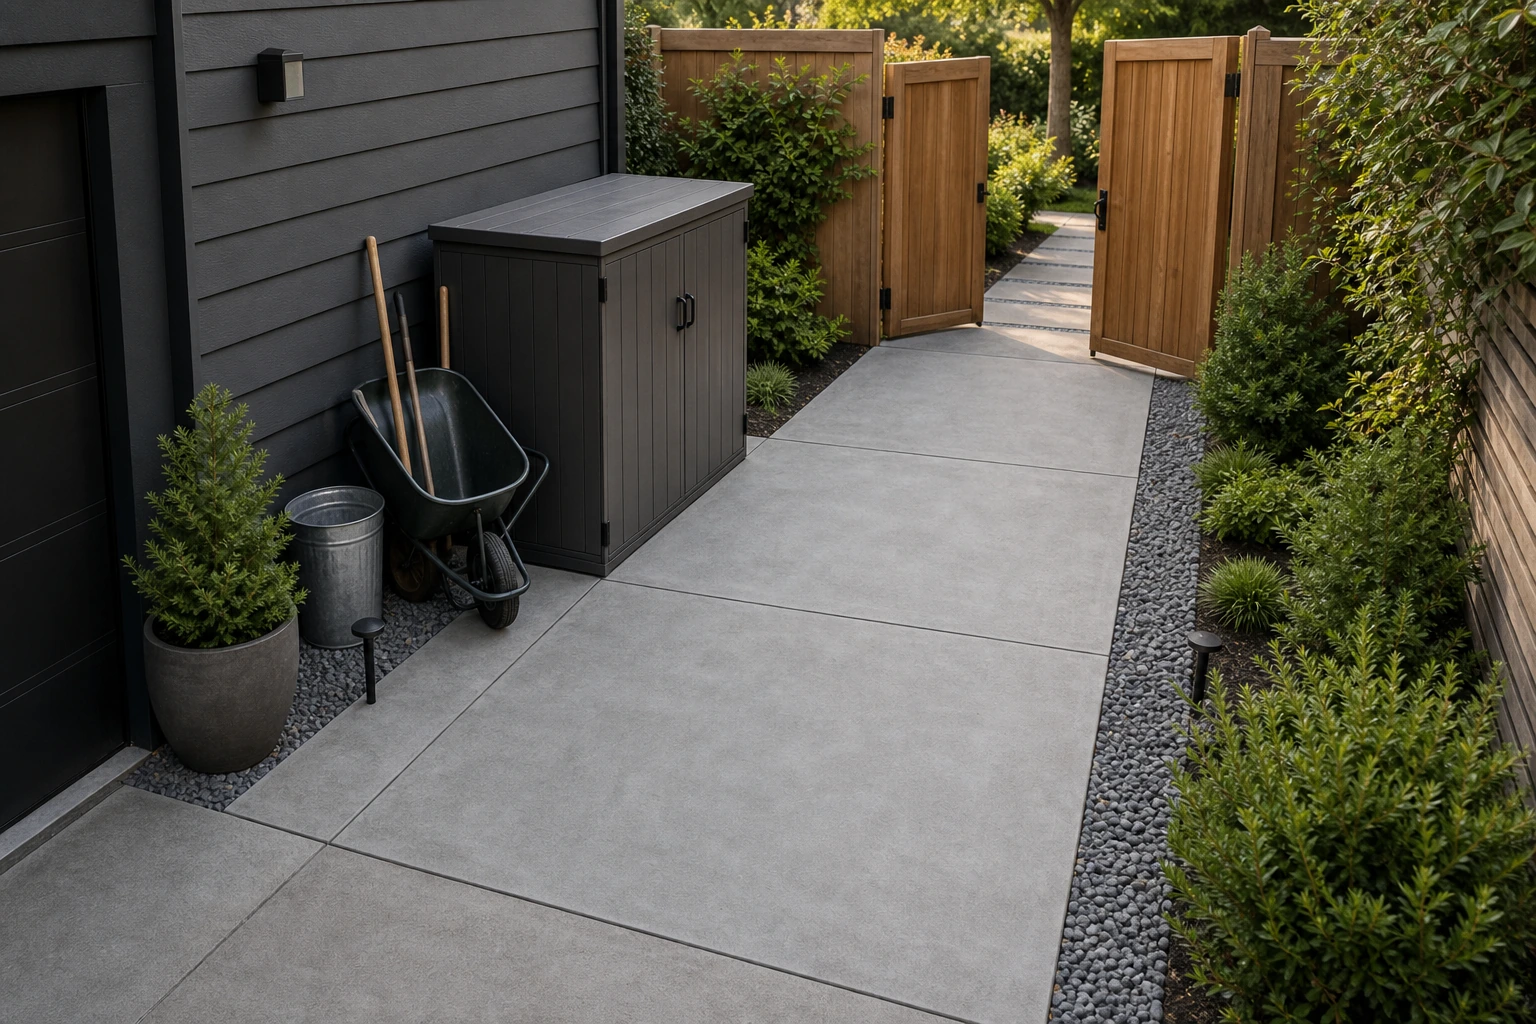
Placing the pad at the gate means bags, deliveries, and equipment land on firm ground the moment they arrive, rather than being hauled across soft yard. That short, easy transfer is what keeps delivery day from becoming a slog, and the firm surface keeps heavy loads stable while you sort them.
- The tradeoff
- The layout sets a clear direction, but it also commits the project to fixed relationships. Keep the gate transition flush and the pad level and drained.
- How to measure it
- Conceptual range: a utility pad measured to the gate opening plus staging room.
On your property
Plan it for your site
Keep the pad a durable, level surface with a flush transition at the gate so carts and loads roll straight in. A plain, rinseable finish suits a busy access point.
- Keep the gate-to-pad transition flush so loaded carts roll cleanly.
- Size the pad to stage a delivery plus room to move it.
- Drain the pad so it stays usable in wet weather.
Before forms are set
Build implications
- Confirm before estimating A flush gate transition.
- Confirm before estimating A pad sized for delivery staging.
- Confirm before estimating Drainage that keeps the access point usable.
- Measure the site and establish elevations Record boundaries, thresholds, grade changes, utilities, and the dimensions of vehicles, furniture, equipment, or structures that affect the layout.
- Test how the space will be used Check walking routes, turning paths, door swings, working clearances, maintenance access, and the route back to the house or street.
- Resolve drainage, services, and structural support Decide where water goes and coordinate drains, conduit, irrigation, fuel, electrical work, footings, and independent supports before forms are set.
- Define and estimate each concrete element Confirm the slab or footing section, base, joints, edges, and finish, then estimate simple measurable fields separately from steps, walls, drains, and supported features.
Prevent these problems
- Matching the wall footprint exactlyA small dry perimeter can improve the threshold, door clearance, maintenance access, and runoff control.
- Using one uniform thin sectionBearing walls, anchors, heavier storage, or manufacturer requirements may call for thickened edges or a footing.
- Allowing wet soil against the slabPoor grading, mulch, and irrigation can keep the pad edge damp and undermine the base or the structure above.
Next step
Turn the idea into your estimate
Enter measurements from the property. The conceptual image does not provide a takeoff.
Estimate a similar shed padQuestions this idea raises
Why put a utility pad at the gate?
So deliveries and equipment land on firm ground where they enter, rather than being hauled across soft yard. It makes the heaviest, most awkward transfers short and easy.
How big should a gate utility pad be?
Big enough to stage a delivery and move it with a cart, which need not be large but should not be cramped. Size it to how deliveries actually arrive.
- Best when
- Compact & side-yard pads
- Reconsider when
- Reconsider the idea if base preparation, bearing edges, anchors, drainage, and building-manufacturer requirements cannot be resolved on the property.
- Verify first
- Keep the gate transition flush and the pad level and drained.
- Professional input
- Concrete contractor; verify the building manufacturer’s foundation requirements
Sources and further reading
- American Concrete InstituteTechnical references for small slab-on-grade pours and thickened edges.
- NRMCA CIP 6: Joints in Concrete Slabs on GradeUseful when a longer garden or greenhouse pad needs planned crack control.
- ICC model code portalCheck whether an accessory building or its slab needs a permit or setback in your area.